DYI Projects > Dye Your Carpet

A DIY Carpet Makeover: How to Dye Your Carpet for a New Look

Dye Your Carpet

Let's dye your carpet! When it comes to dyeing your carpet over Memorial Day, this simple DIY carpet cleaning project can leave your home with amazing benefits that you probably have never thought about.

Benefits to Dyeing Your Carpet

We've listed the top benefits to dyeing your carpet, and they include:

1. Cost-Effective Alternative to Replacement

Carpet dyeing can save you up to 60–80% compared to the cost of installing new carpet, making it a budget-friendly option for reviving worn or outdated flooring.

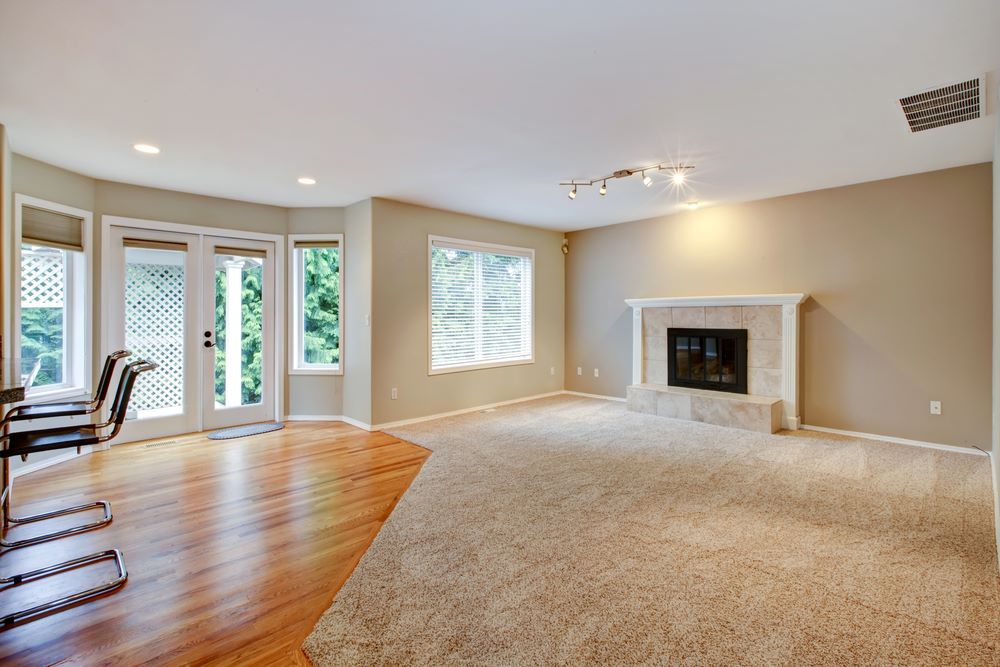
2. Extends Carpet Life

Dyeing refreshes the appearance and strengthens the fibers, helping you get more years out of your existing carpet.

3. Improves Aesthetics

Faded, stained, or discolored carpets can be transformed with vibrant, even color, instantly improving the look of a room.

4. Custom Color Options

You can choose to restore the original color or completely change it to match new décor or design trends. Or try creating your own stainer.

5. Eco-Friendly Solution

By renewing your existing carpet instead of replacing it, you reduce waste going to landfills and lower your environmental footprint.

6. Fast and Convenient

Most carpet dyeing projects can be completed in just a few hours, with minimal disruption and no need to remove furniture.

7. Effective Stain Coverage

Dyeing can help hide or eliminate permanent stains that professional cleaning can't remove.

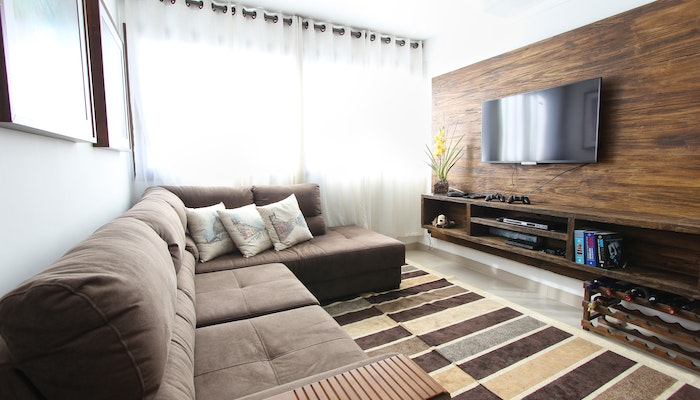
8. Uniform Look Throughout Your Home or Business

Carpet dyeing allows you to match different rooms or high-traffic areas for a cohesive appearance.

9. Safe and Non-Toxic

Modern carpet dyes are non-toxic and safe for families, pets, and the environment.

10. Increases Property Value

A clean, vibrant carpet can boost the perceived value of a home or commercial space, especially if you're preparing to sell or lease.

As one of the top trends, let's get to it.

Ok, so now you know the benefits of dyeing your carpet, it's time to actually get to work!

Dyeing Your Carpet

How to Dye Your Carpet

Don't over think this! DIY projects like dyeing your carpet can be a simple and straightforward process. But first things first, let's gather the carpet cleaning materials and carpet cleaning tools needed to get this project completed correctly. Below, find the materials needed to easily dye your carpet.

Carpet Cleaning Materials Needed

1. Carpet Dye

  • Choose a high-quality, fiber-specific dye (usually acid dye for nylon or wool carpets).
  • Make sure to select your desired color or color restoration product.

2. Dye Fixative or Setting Agent

  • Helps the dye bond with the carpet fibers and improves colorfastness.

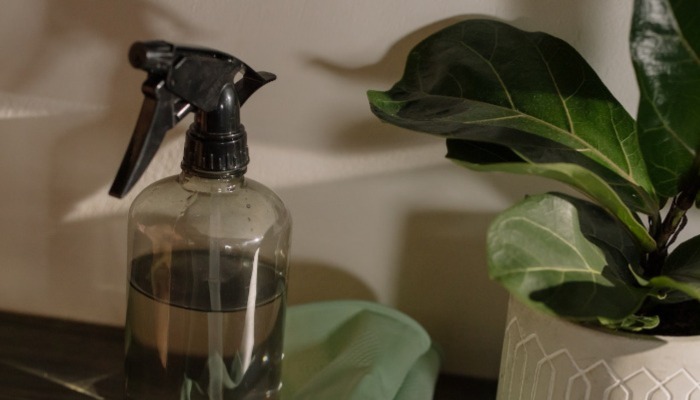
3. Pump Sprayer or Carpet Dye Machine

  • A pump sprayer works for most DIY jobs.
  • For large areas, a professional carpet dyeing machine may provide more even application.

4. Water (Preferably Distilled)

  • For diluting the dye, especially if you're using a concentrated solution.

5. Drop Cloths or Plastic Sheeting

  • To protect nearby furniture, walls, and floors from overspray.

6. Painter's Tape

  • For masking off baseboards and areas you don’t want dyed.

7. Gloves and Protective Clothing

  • Carpet dye can stain your skin and clothes, so gear up.

8. Respirator or Mask (Optional but Recommended)

  • Especially if you’re working in a small or poorly ventilated area.

9. Stiff Bristle Brush or Carpet Rake

  • Helps work the dye into the fibers for even coverage.

10. Measuring Cup and Mixing Bucket

  • For accurate dye measurement and mixing.

11. Wet/Dry Vacuum (Optional)

  • To extract excess moisture if needed.

12. Carpet Cleaner (Pre-Treatment)

  • Clean the carpet thoroughly before dyeing to ensure better dye absorption.

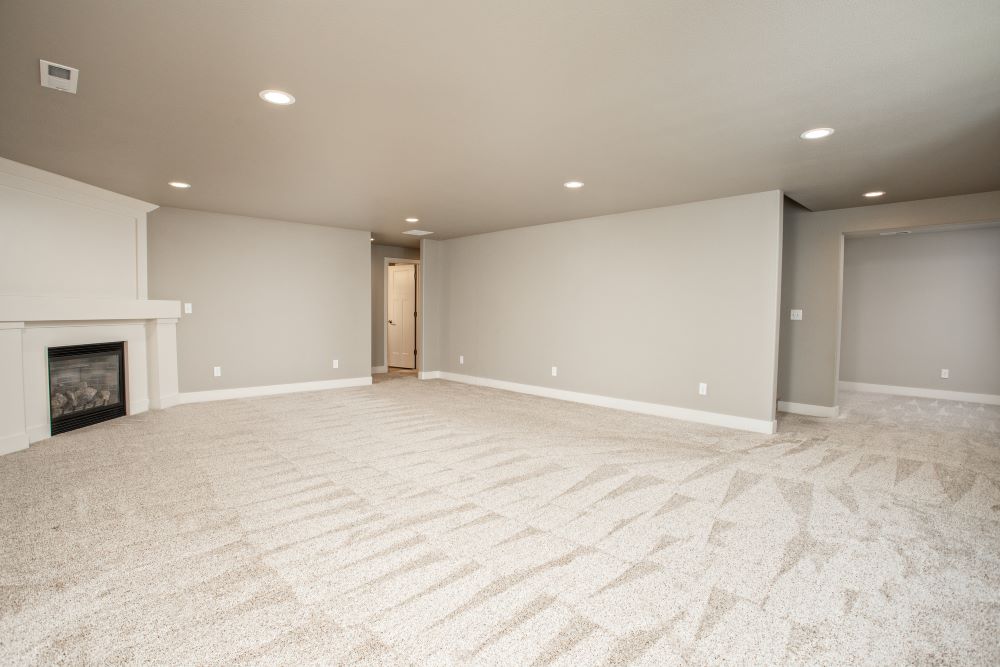
When it comes to selecting the right materials for a DIY carpet dyeing project, choosing the right type of carpet is key to achieving the best results. As Dr Chemdry highlights, 'Studies have shown that carpets made from natural fibers, such as wool, absorb dye more evenly and effectively than synthetic materials, resulting in a more vibrant and long-lasting color. Opting for high-quality, natural fiber carpets can make a significant difference in the outcome of your dyeing project, ensuring both a beautiful finish and durability over time.

You can also check out this list of carpet cleaning tools to make sure you have everything you need.

Now that you have the carpet cleaning materials and tools, let's move to the fun part- actually dyeing your carpet. Follow the simple carpet cleaning steps below and you'll be finished in no time.

Carpet Cleaning

Steps to Dyeing Your Carpet

Keep in mind that these steps to dye your carpet may vary depending on the size of your project. Ready? Ok, let's do this!

Step 1: Identify Carpet Type

Before you begin, confirm that your carpet is dyeable—typically nylon and wool carpets can be dyed. Polyester and olefin carpets do not absorb dye and should not be dyed.

Step 2: Clean the Carpet Thoroughly

A clean surface ensures better dye absorption.

  • Vacuum to remove loose dirt and debris.
  • Use a carpet cleaner or steam cleaner to remove stains, oils, and residue.
  • Let the carpet dry completely before proceeding.

Step 3: Protect Surrounding Areas

  • Use drop cloths or plastic sheeting to cover walls, furniture, baseboards, and any nearby surfaces.
  • Apply painter’s tape around baseboards and thresholds to prevent staining.

Step 4: Mix the Dye

  • Follow the manufacturer’s instructions to mix your carpet dye with distilled water (typically in a pump sprayer or dye machine).
  • Add dye fixative if your product calls for it.
  • Test the dye on a small hidden section of the carpet to ensure you like the color and coverage.

Step 5: Apply the Dye

  • Begin in a corner of the room and work your way out.
  • Use a pump sprayer to apply dye evenly in a consistent, sweeping motion.
  • Avoid soaking the carpet—apply a light, even coat.

Step 6: Work the Dye In

  • Use a carpet rake or stiff bristle brush to work the dye deep into the fibers.
  • This ensures even coverage and prevents blotchy areas.

Step 7: Let It Dry

  • Allow the carpet to dry completely—this may take 6–24 hours depending on ventilation and humidity.
  • Use fans or air movers to speed up the drying process if needed.
  • Avoid foot traffic during this time.

Step 8: Vacuum & Inspect

  • Once dry, vacuum thoroughly to lift the fibers and remove any residual particles.
  • Inspect for any light areas and touch up as needed.

Step 9: Optional – Apply Carpet Protector

  • If desired, you can apply a carpet protector spray once the carpet is dry to help prevent future stains and extend the life of the dye.

Bonus Tips:

  • Wear old clothes and gloves—dye will stain skin and fabric.
  • Keep pets and kids out of the area during the process.
  • Always follow the product's safety instructions.

Conclusion

This amazing carpet cleaning DIY project of dyeing your carpet checks both boxes of being very rewarding and a DIY project that can be completed over Memorial Day weekend. As long as you have the carpet cleaning supplies you need and follow the steps above, your finish this project successfully.

You got this! And if anything, you can always hire a carpet cleaning if the carpet cleaning project becomes too overwhelming.

Need another quick DIY project? Check out this popular DIY carpet cleaning project when you are ready!

Support Veteran Businesses

Veteran Businesses
diy project

Popular Memorial Day DIY Projects